

The Legend of Zelda: Ocarina of Time has so many iconic locations, it’s hard to choose just one to represent the game as a whole. While many of these locales existed in the past and were brought into 3D for the first time in Ocarina, plenty of original designs stood out, and they are burned into our brains decades later.
That’s why it’s such a treat to see them remade again, in a significantly different way than the first time on 3DS. The Switch 2 edition has a ton of fantastic-looking areas, including the tricky Forest Temple, where you’ll acquire the Fairy Bow.
How To Get The Fairy Bow In The Ocarina Of Time Remake
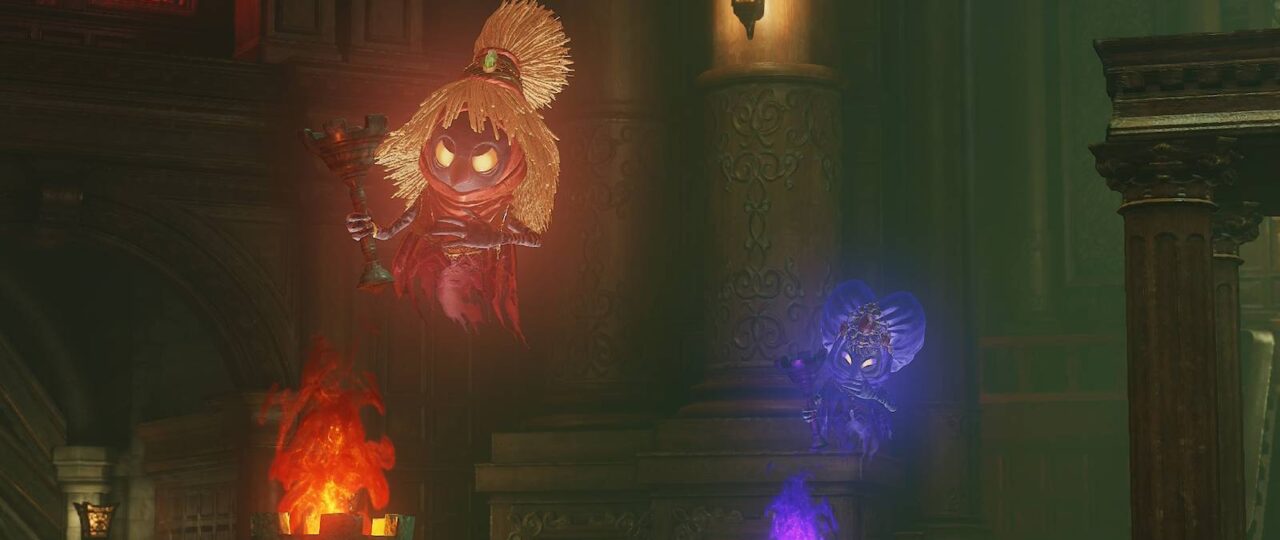
After walking into the Forest Temple, you’ll be greeted by four Poes, all of whom run away with an essence. You’ll need to catch them all to progress through the dungeon, so let’s start small.
Go straight ahead, up the stairs, and through the door. Hookshot or slash the undead bat and go into the next room for a small miniboss battle with two Stalfos.
Several different strategies will work against these armored foes, but you can bait their attacks, dodge, slash several times, then back off. Repeat and try to bait each Stalfos out at a time. Hookshots from far away (which can stun the Stalfos) and bombs also work great. Your reward is a silver key, which we’ll use right away.
Walk out back into the main hall and turn right. Use the key on the door to enter, and go into the next room. Here you’ll face off against your first Wallmaster: if you see a spotlight turn red, roll out constantly to avoid it.
Head up the ladder and turn left. Go straight down the hallway, hang a left, and push the block forward into the room. Then readjust and push the block into the hallway on the left, following the arrows on the ground. Go around the block and push it into the corner.
Jump up on the block and continue to the raised area. Pull the block out as far as you can, then head back down to where you came from. Near where you pushed the first block is a ladder. Go up and push the block all the way into the hallway. Then repeat the process by going back up to the highest level and pushing the block into the indentation.
Keep climbing and go up another ladder. Turn left and press the button on the ground to trigger an elevator shortcut. Take the elevator, then run forward to return to the main hall. Turn left and play the Song of Time on the giant blue block to make it disappear.
Enter the room and turn right. Use the Hookshot to take down the two Skulltulas on the vines, then climb all the way up. Use the Hookshot again to zoom across the gap, and step on the button to drain the well.
Fall down to get a small key, then climb up, Hookshot across, and grab the dungeon map from the big chest. Go through the sole door in the room and press the button to discover another main hall shortcut.
Run across the hall, then go back to the elevator room and head all the way back up to the big hall. Use the small key on the door to enter the iconic twisted hallway. Keep running and jump across the gaps, then go through the door on your right.
Take out one Stalfos, then two at once, and open the chest for the fairy bow, Adult Link’s slingshot equivalent. You can use this bow to hit eyeball targets for puzzles, and knock Wallmasters out of the sky before they grab you.
Aim and shoot at the eyeball behind the grates. Your arrow will go in and hit the target. Walk up the stairs and look for the red Poe inside the painting. Shoot an arrow at all three, then go back down the stairs to confront it.
Wait until it tries to attack, then dodge around and counterattack. You can also shoot an arrow at it from far away when it’s materialized. It’ll go down in just a few combos, and a chest will appear with a small key. Enter the doorway next to it and use the key to continue through the dungeon. In the next room, repeat the process of shooting the paintings, then go down and duel the blue Poe. Open the chest for a compass, then go up the stairs and into the doorway to the next room.
Here, you can retreat to the main hall with the raised elevator and shoot the eye above the doorway leading into the curved hallway. This changes the orientation, lets you find different areas, and gives you access to more items.
The first room gives you the boss key, which you need to face the boss in Adult Link dungeons. Drop into the hole and enter the door on your right. Shoot the Wallmaster with your bow and slash it. Then defeat the smaller ones that pop out. A small key is your reward; use it on the twisted hallway after using an arrow to reconfigure it.
Exit the room and turn right, then drop and turn right again, taking the elevator up. Shoot the eye with an arrow to configure the hallway again. Go through the twisted hallway, jump across to the right, and enter the door.
Continue through the red hallway, going straight down the path, and up the blue hallway staircase. Go through the blue room, turn right, climb up, and open the locked door with your small key. Press the button to make the flame appear, then go behind it and shoot an arrow through the flame into the eye to melt the ice.
Skulltulas drop from the ceiling in this section, so check spaces before you run into them as the ceiling lowers.
Shoot it again once it’s thawed to twist the blue hallway. Drop into the hole and use the lights to avoid the ceiling. The small chest contains a large magic jar, or you could just run to the door.
Shoot the picture to anger the green Poe and start another battle. Reform the puzzle (using the moving pieces) to start the fight (re-using the same Poe strategies as before). Walk into the next room near the green flame, and use the bow on the next Poe, who will retreat into the main hall.
Return to the main hall by taking the door in front of you. When the Poe tries to trick you with illusions, shoot an arrow at the one with the purple flame. After it’s defeated, get ready for the dungeon boss, and take the elevator down.
Use the stone lever to “push” the room around like a wheel. Keep spinning the room and checking the open doorways. Open the small chest for arrows, and press the button on the ground to trigger the flame. Your ultimate goal is to align the lit torch with the ice-encased button, shoot an arrow through it (and again to trigger the button). Then enter the boss room with the boss key.
A gold Skulltula can be found on the wall in the room across from the boss door.
How To Beat Phantom Ganon
Phantom Ganon might be scary-looking, but it’s still easy to deal with if you know what to do. Phantom Ganon will retreat into the painting, then ride back at you and try to attack. Shoot the one that bucks out of the painting (with the galloping sound in tow) after it is completely out of the painting itself.
Repeat the process three times, and it’s time for the second phase of the battle. Lock onto Phantom Ganon, and volley his blast back at him until it hits; then sprint in and attack. If you’re having trouble hitting the orb, try attacking with a thrust (moving toward Phanton Ganon and attacking). During this phase, Phantom Ganon might use a rush thrusting attack.
While he’s doing this, his green flames are gone, and he’s susceptible to bow attacks. After he thrusts, side-dodge and slash him up fast before he retreats again. After his horrifying defeat, Phantom Ganon will be down for the count, and you’ll hear Ganondorf’s voice for the first time.
That’s the Zelda: Ocarina of Time Forest Temple, and you’ll earn a Heart Container for the win, as well as a visit with the Forest Sage, and the Forest Medallion.
The Legend of Zelda: Ocarina of Time
Discover more from NAIRAVOICE.COM.NG
Subscribe to get the latest posts sent to your email.